When you record spatial videos on the iPhone they break new ground in video content and allows embedding depth to create a dynamic 3D effect that puts viewers inside of what is being shot. Spatial video recording can take your videos to the next as you work on capturing memories that are creative or work related. This guide will teach you some of the tricks and recommendations to follow if you want that your spatial videos capture all eyes with captivating immersive visuals in this new dimension on iPhone.
Understanding Spatial Video
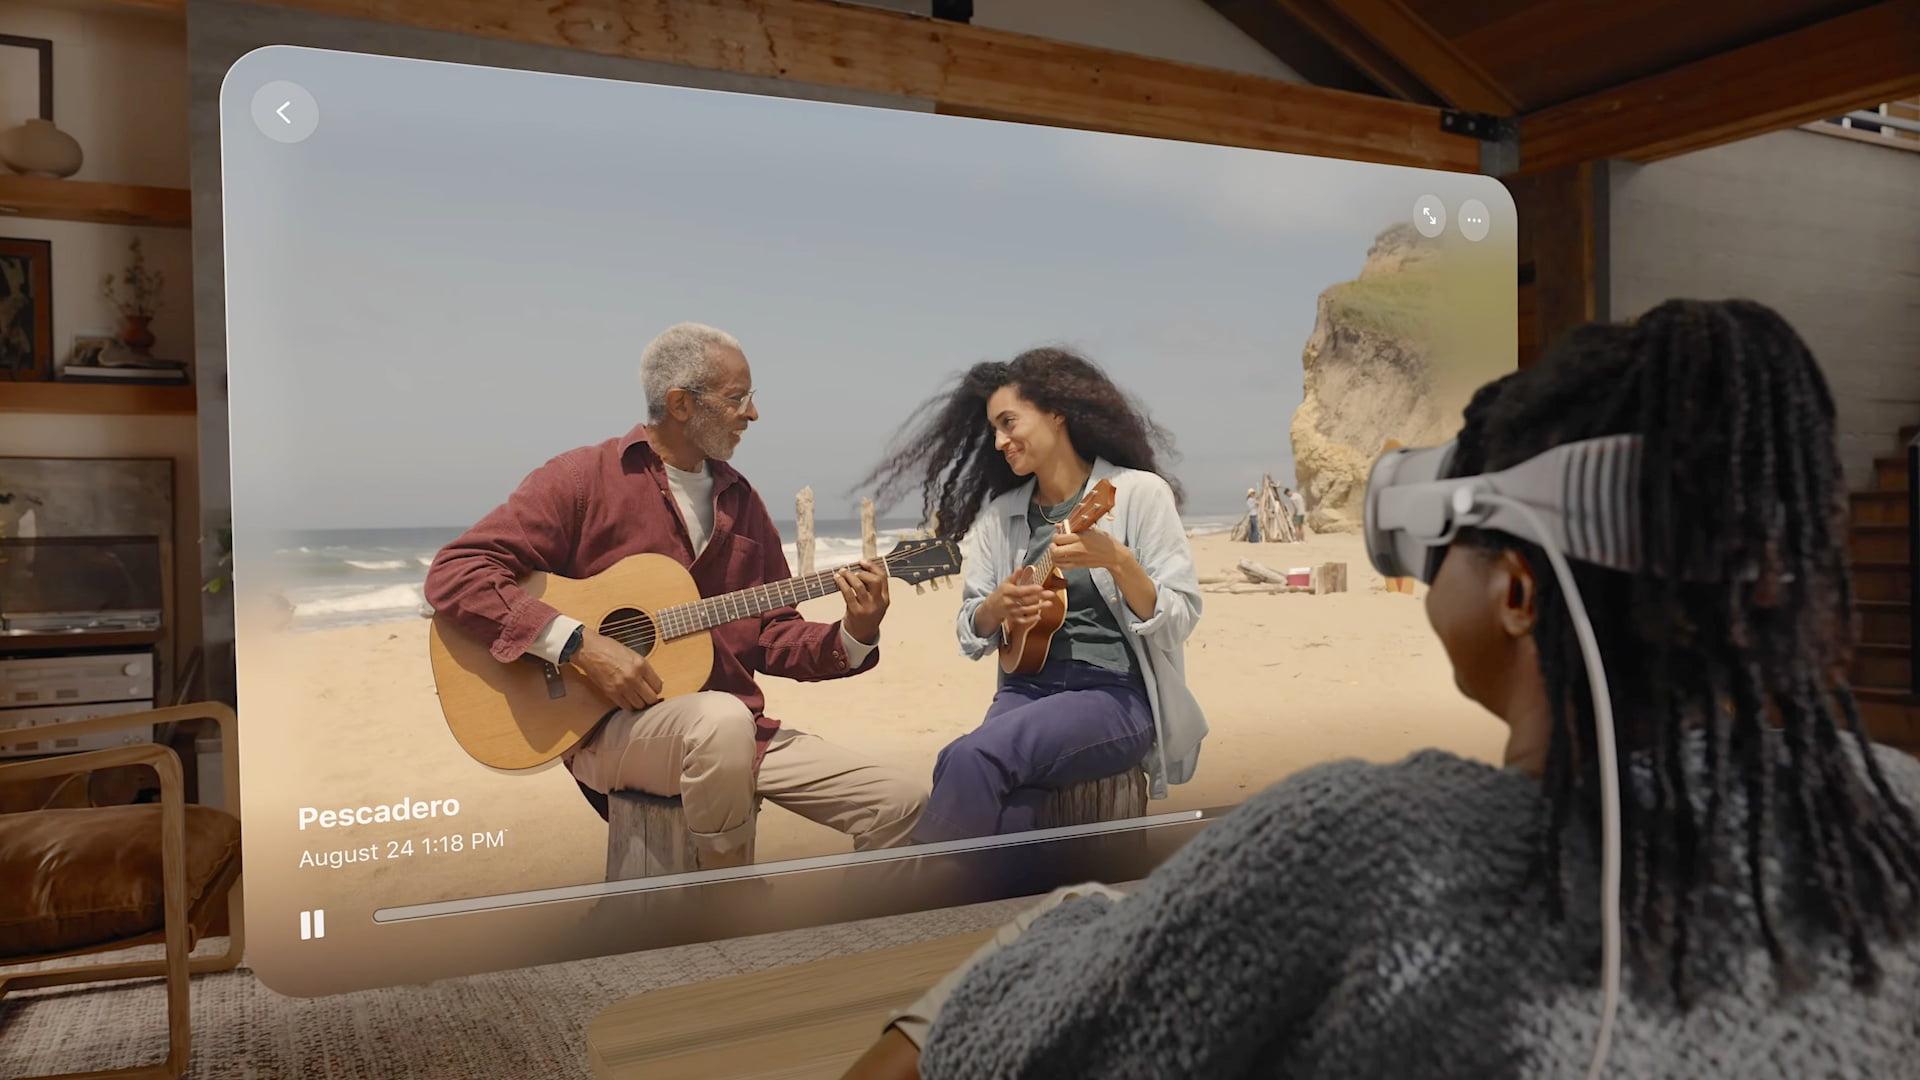
Spatial video is a term used to describe recordings that create an immersive three-dimensional experience so that viewers can feel they are part of the scene. Spatial videos make use of depth perception and, thanks to the latest iPhone models that carry advanced cameras and sensors capable of capturing high-quality spatial videos, it has increasingly become easy to do this.
Benefits of Recording Spatial Videos on iPhone
-
- Immersive Experience: Spatial videos give a 360-degree perspective making them more engaging and realistic.
-
- Flexibility: You can use spatial videos for various applications, from virtual reality experiences to educational purposes.
-
- Convenient Sharing: iPhones merge easily with social media as well as video platforms hence giving you the opportunity to share your creativity simply.
Tips and Tricks to Record Spatial Videos on iPhone
1. Set Up Your iPhone Properly
Before you start shooting spatial videos, ensure your iPhone is ready to capture the best quality:
-
- Update your iPhone to the latest iOS version for improved camera functionality.
-
- Make sure you have enough storage space available—spatial videos can take up significant memory.
-
- Enable the High Efficiency video (HEVC) format for optimal storage and quality. Go to Settings > Camera > Formats and select High Efficiency.
2. Use the Right Apps
While the native camera app is powerful, consider third-party apps that specialize in spatial video recording:
-
- FiLMiC Pro: Offers advanced controls and options for professional-grade video recording.
-
- 360 Panorama: Perfect for capturing panoramic views with spatial depth.
-
- Action Director: Enables the recording and editing of spatial videos seamlessly.
3. Experiment with Camera Angles
The perspective you choose is crucial for spatial videos. Here are some ideas:
-
- Capture low angles to emphasize the foreground and make scenes feel larger.
-
- Use high angles to provide context and reveal more of the environment.
-
- Try a mix of angles to keep your content dynamic and engaging.
4. Leverage Lighting
Good lighting can make a significant difference. Consider these tips:
-
- Natural light works best—shoot during the golden hours for optimal results.
-
- Avoid harsh shadows; soft light is preferable as it creates a balanced look.
-
- Use lighting reflectors or diffusers to enhance your scene’s visual appeal.
5. Stabilize Your Footage
Shaky videos can ruin an immersive experience. Here’s how to stabilize your footage:
-
- Utilize a tripod or gimbal to keep your iPhone steady.
-
- Enable the built-in optical image stabilization (OIS) by using the native camera settings.
-
- Record slow-motion footage to reduce the impact of shakiness.
6. Edit Your Spatial Videos
Editing allows you to enhance your videos post-recording:
-
- Use iMovie or Final Cut Pro for intuitive editing experiences.
-
- Add depth effects and use transitions to create a fluid visual narrative.
-
- Experiment with filters and soundtracks to elevate your videos further.
7. Test Recording Techniques
When recording spatial video, testing various techniques can yield creative results:
-
- Try the “Dolly Zoom” effect for dynamic storytelling.
-
- Incorporate time-lapse recordings to showcase long-duration events in short formats.
-
- Use slow-motion to highlight critical moments and add drama.
8. Share Your Content Effectively
Once your spatial video is ready, sharing is crucial. Utilize these platforms:
| Platform | Best For | Tips |
|---|---|---|
| Short clips, Stories | Use engaging captions and hashtags. | |
| YouTube | Long-form content | Optimize titles and descriptions for SEO. |
| Wide audience | Share in relevant groups for better reach. |
First-Hand Experience: Capturing a Nature Walk
Recently, I decided to capture a breathtaking hike in the mountains. Using my iPhone 14 Pro, I followed these steps:
- Set my phone to the HEVC format for quality.
- Used FiLMiC Pro for greater control over settings.
- Experimented with low-angle shots to highlight the towering trees.
- Adjusted my timing to catch the sunset’s warm hues.
- Stabilized my footage with a handheld gimbal.
- Edited using iMovie, incorporating a relaxing soundtrack.
The final product was a stunning spatial video that brought viewers along for the journey, showcasing the beauty of nature in an immersive way.
Conclusion about Record Spatial Videos
When using your iPhone to record videos, normal moments can be transformed into incredible experiences. This article will show you how to attract and hold the attention of your viewers through advanced features, experimenting with camera angles and creative editing techniques. These suggestions can help you attain excellent results whether you are documenting a personal adventure or creating content for a bigger audience. Therefore, get your iPhone and commence trying out various things till you create those videos that are so immersive they cannot be forgotten {inasmuch as these}. You can Dual Recording on Samsung Galaxy: Capture with Two Cameras: